Flashing the Firmware
In order to familiarize yourself with flashing the EIR, we will demonstrate the procedure step by step.
You should create a new empty folder to work with. Everything goes into it, and every command you enter has to be run out of this folder.
First copy the firmware binary into this folder.
For our demo we suggest, that you use the Webradio application,
which is available on this CD.
webradio-1.2.1.bin
Second, copy the OpenOCD config file into this folder. eirocd.cfg
If you're not using the Turtlelizer 2 adapter, you need to modify this file.
The Turtelizer 2 has a 10-pin JTAG connector, while the EIR uses one with 20 pins. Therefore, a special connector adapter is required.
Connect the Turtleizer 2 with the connector adapter and the connector adapter with
the EIR.

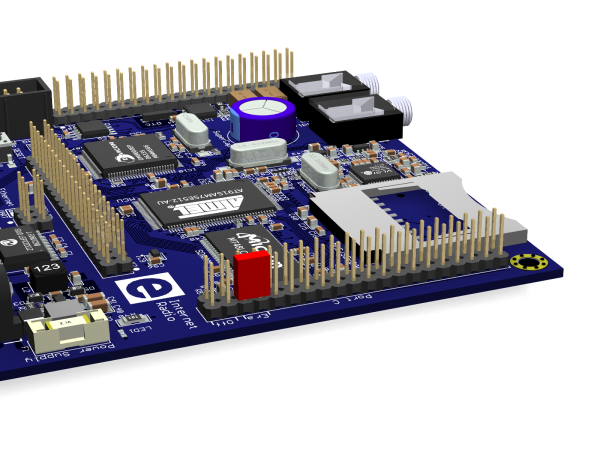
We start with erasing the old firmware. On the EIR board connect pins 34 and 36 of K3 (Port C), using a 2.54 mm jumper. Press and release the reset button and remove the jumper. This activates the SAM-BA boot loader.
To get access to our board via OpenOCD, we need to start OpenOCD with the proper config file. Open a command line window (DOS Box, OS X Terminal, Linux shell etc.) and enter
$ openocd -f eirocd.cfg
OpenOCD blocks our command line window. Thus, open a new one, so we can use the Telnet program to establish a connection to OpenOCD. In the new window enter
$ telnet 127.0.0.1 4444
First let's stop the CPU on the EIR. In the Telnet window enter
> halt
We will now activate the internal Flash memory of the EIR CPU, using
> flash probe 0
Next, we transfer our firmware binary to the Flash memory, starting at address 0:
> flash write_bank 0 webradio-1.2.1.bin 0
Finally we need to activate the GPNVM2 flag in the CPU. This will disable the SAM-BA boot loader and activate our firmware.
> at91sam7 gpnvm 0 2 set
Now there's nothing left to do, except pressing the reset button on the EIR to run the new firmware.