
NPL Tutorial - Step 2
Creating A New ISE Project
Start the Xilinx ISE Project Navigator and ...
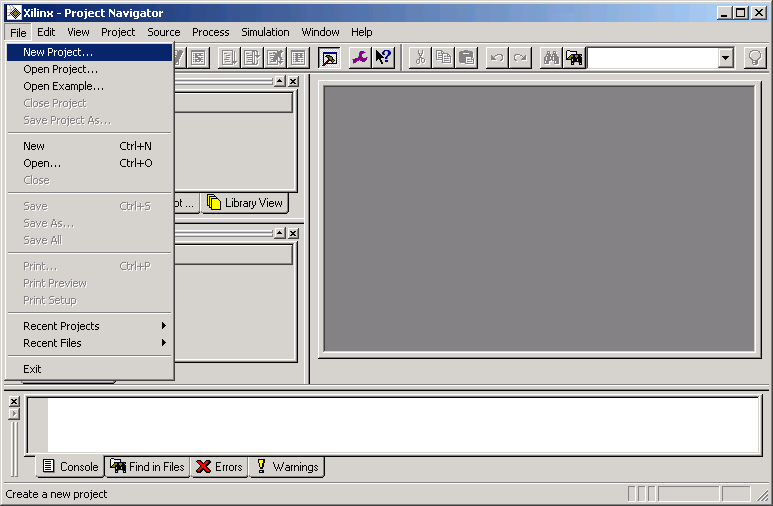
select New Project... from the File Menu.
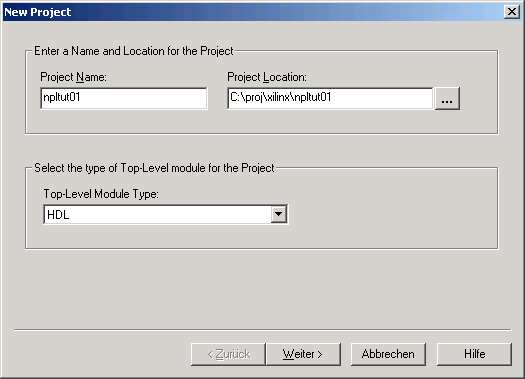
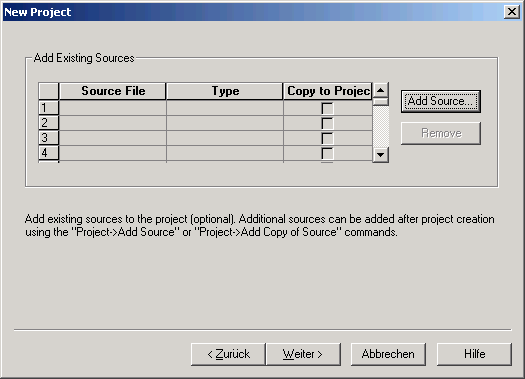
The New Project Dialog appears. Enter the name of your new project, like npltut01 or similar. The top level module type should be set to HDL, because we will use the Verilog HDL in our tutorial.
Before continuing, you need to copy two files into the project directory:
- npltut01.v
The Verilog Source File - ethernut30d.ucf
The User Contraints File for Ethernut 3.0 Rev-D
When done, return to the New Project Dialog and press the Next button.
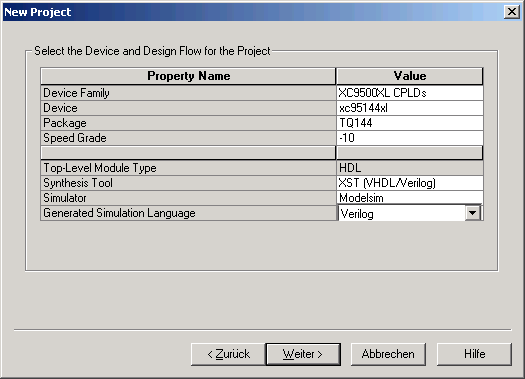
On the second page we select the XC9500XL CPLD device family and the xc95144xl device, because this is exactly the chip we use on Ethernut 3. Also check the other entries and modify them if they differ from the screenshot.
Press the Next button.
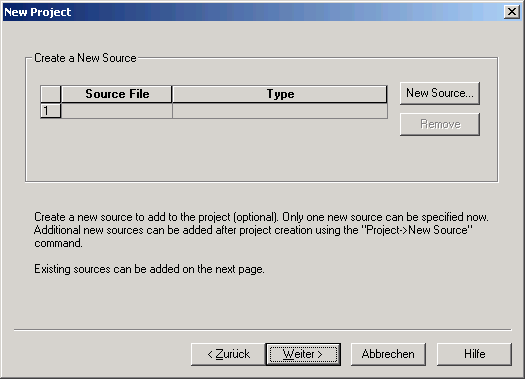
We can leave this page alone, because we will use a prepared source file. Simply press the Next button.
On the next page press the Add button and...
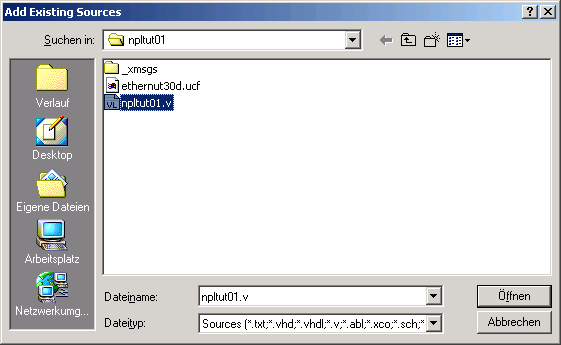
...select the file npltut01.v. Then press the Open button...

...and specify its type as a Verilog Design File.
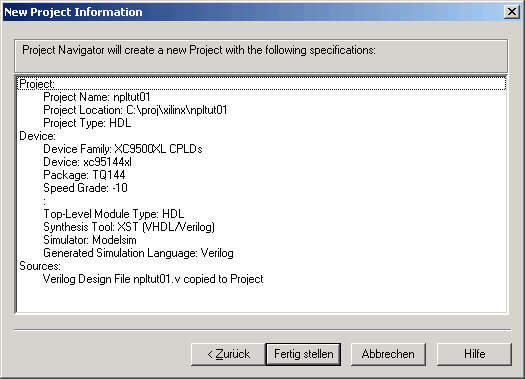
The final page will show a summary of the configuration. Verify the specifications and confirm it.
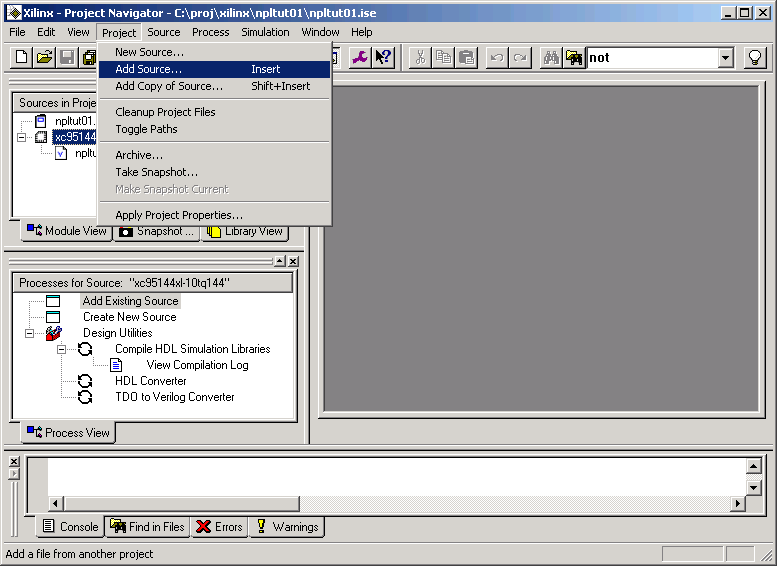
We are now back to the Project Navigator's main window. Select Add Source... from the Project Menu to add the pin layout file of the Ethernut 3 CPLD to our new project.
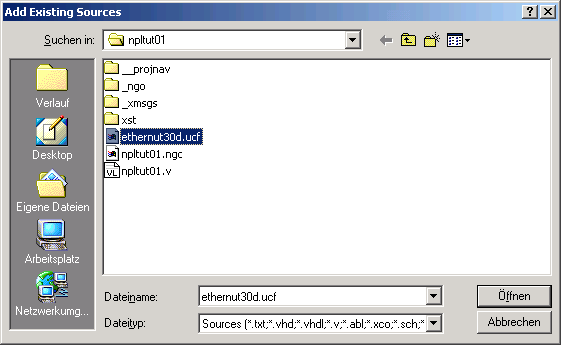
Select ethernut30d.ucf and press the Open button.
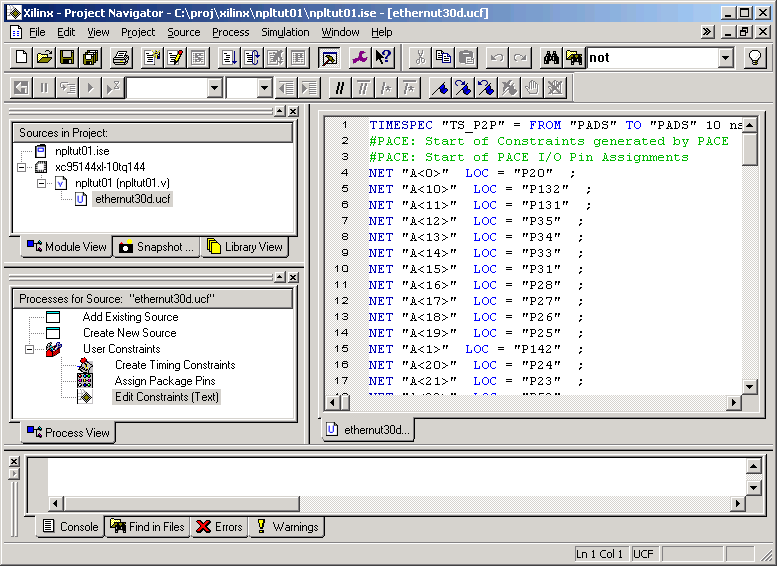
The file ethernut30d.ucf is a so called User Contraints File. Among other things it specifies which signals are connected to which pins of the CPLD. The file we just loaded saves you some work, because all CPLD pins used on Ethernut 3 are pre-defined in this file. Select the file ethernut30d.ucf in the Sources in Project Tree and double click on Edit Constraints (Text) to view its contents.