
Nut/OS for Ethernut 5
On this page we will present a short guide to build Nut/OS for the Ethernut 5 board for the inexperienced user.
A more advanced guide shows how to setup Nut/OS for source code debugging.
Introduction
Ethernut 5 is an open source hardware design of an embedded ARM9 board, capable of running a full fledged Linux operating system. Nut/OS is an RTOS for tiny microcontrollers like the 8-bit AVR or the ARM Cortex.
Why run the tiny Nut/OS on a large and fast ARM9 microcontroller? Well, Nut/OS is simple to use, highly optimized, and boots within a fraction of a second. It uses only a few kilobytes of memory, leaving almost all memory for the application.
Setting up your Windows PC
You need to download and install the following packages:
| Tool | URL | File |
|---|---|---|
| GCC Toolchain | https://launchpad.net/gcc-arm-embedded | gcc-arm-none-eabi-4_7-2013q3-20130916-win32.exe |
| Ethernut Installation | http://sourceforge.net/projects/ethernut/files/ethernut/5.2%20beta/ethernut-5.2.1-1.exe/download | ethernut-5.2.1-1.exe |
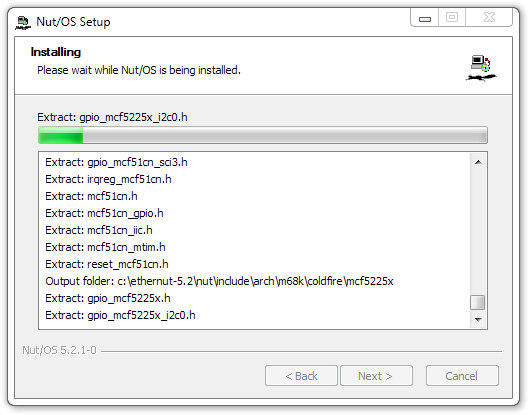
The following picture shows a part of the Nut/OS installation.
Configuring Nut/OS on your Windows PC
After finishing the Ethernut installation, call the Nut/OS Configurator from the Windows start menu.
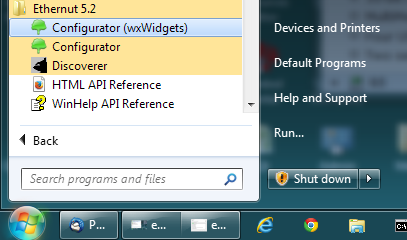
Note, that there are two versions of the Configurator. One is based on wxWidgets while the other is based on Qt4. They are almost identical, but on Windows the Qt based version is not as stable as it should be. Therefore we recommend to use the wxWidget based version.

Now load the Ethernut 5 configuration file by selecting Open in the File menu.

Select the configuration file named ethernut50f.conf and click on Open.

The Configurator has setup the configuration for Nut/OS running in the SDRAM of Ethernut 5.

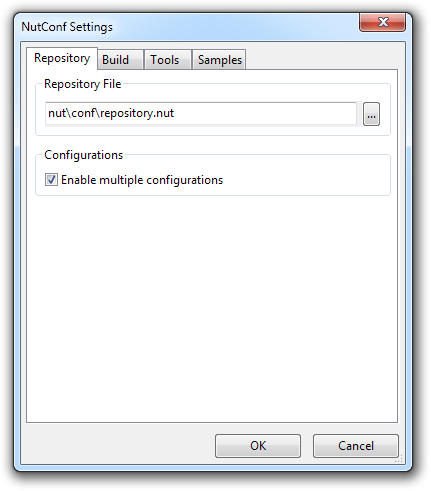
A few additional settings are required to configure the tools. For this, select Settings... in the Edit menu, or simply press Ctrl+T.

The settings dialog will open. There's nothing special on the first page. If you plan to work with several different target boards, you may check Enable multiple configurations. But it is not required.
On the second page select arm-gcc as the platform. You can leave all other entries at the default values.

On the third page you need to enter two paths, separated by a semicolon. The first path points to the Nut/OS win32 tools directory and should be already displayed. The second path must point to the bin directory of the GCC toolchain. In our case it points to the default installation of the Launchpad toolchain.

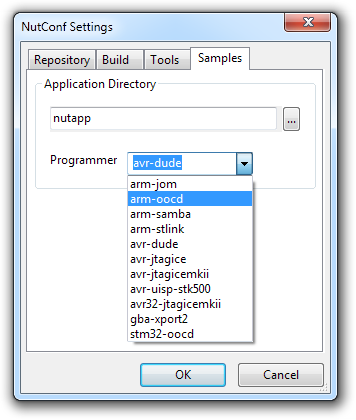
On the last page you may select arm-oocd as the programmer. This is not really required unless you use a JTAG programmer like the Turtelizer to upload your application.
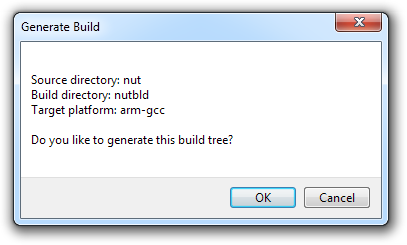
Click on OK to confirm your setup. Back in the main window click on the tree symbol in the toolbar to start building Nut/OS for Ethernut 5.

A message dialog will display your build tree configuration. Click on OK.
Another message dialog displays your Nut/OS build configuration. When clicking OK, the Configurator will start to build the Nut/OS libraries.

The build will take a few minutes and is done in three steps:
- make clean removes any leftover from previous builds
- make all creates all binaries
- make install moves the libraries to the lib directory

When done, check the result in the lower part of the main window. If something went wrong, you may copy the contents of this text area and post it to someone else, asking for help.

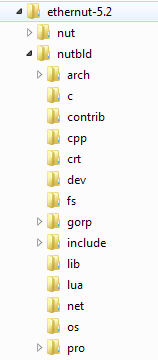
As a result, the Configurator created the build tree nutbld from the source tree nut.
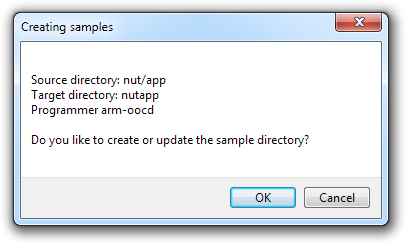
Applications are build apart from these trees in the so called application tree, nutapp as in our example. The Configurator can help to create this directory. Select Update Application Directory from the Build menu.

A message pops up, showing the configured setup. Click on OK.
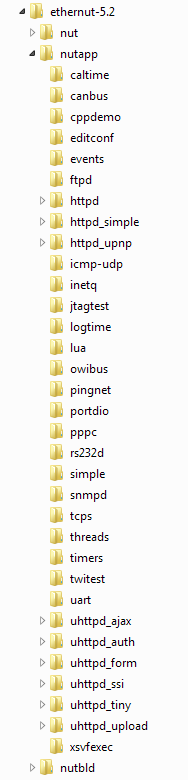
As a result, the Configurator should have created the application tree for us. It contains all included sample applications.
You may now close the Configurator, because it is no longer needed. Later you may want to change certain Nut/OS settings to adapt the system to your special requirements. In that case, you must not forget to rebuild the Nut/OS libraries and to update the application tree.
As a final test, we should build the application samples. For this, we need to open a Windows command line, change to the application tree and add the path to the bin directories of the toolchain and the Nut/OS tools.
cd c:\ethernut-5.2\nutapp
set PATH=C:\Program Files (x86)\GNU Tools ARM Embedded\4.7 2013q2\bin;%PATH%
set PATH=C:\ethernut-5.1\nut\tools\win32;%PATH%
To build the samples, enter
make clean all
In a first step all previously created binaries are removed, for example the threads application:
...
make -C threads clean
make[1]: Entering directory `C:/ethernut-5.2/nutapp/threads'
rm -f threads.o
rm -f threads.hex threads.bin threads.elf
rm -f threads.eep
rm -f threads.obj
rm -f threads.map
rm -f threads.lst
rm -f threads.bak
rm -f threads.i
rm -f threads.d
make[1]: Leaving directory `C:/ethernut-5.2/nutapp/threads'
...
In a second step new binaries are created by
- Compiling the application source code to binary objects
- Linking objects and libraries to an ELF image
- Creating a hex file from the ELF image
- Creating a raw binary image file from the ELF image
...
make -C threads
make[1]: Entering directory `C:/ethernut-5.2/nutapp/threads'
arm-none-eabi-gcc -c -I../../nutbld/include  -I../../nut/inc...
arm-none-eabi-gcc threads.o -mcpu=arm9 -nostartfiles -L../...
arm-none-eabi-objcopy  -O ihex threads.elf threads.hex
arm-none-eabi-objcopy  -O binary threads.elf threads.bin
make[1]: Leaving directory `C:/ethernut-5.2/nutapp/threads'
...
To upload and run these applications on Ethernut 5, you can use U-Boot. Look for the chapter Booting Nut/OS Applications.
Sooner or later you may probably want to write your own applications. You can do this by either modifying an existing one or by copying and existing application to a new directory.
cd c:\ethernut-5.2\nutapp
xcopy threads myapp\ /S
cd myapp
make clean all
You can find more Nut/OS programming samples in our NutWiki.
Good luck!
Castrop-Rauxel, 19th of Nov. 2013